I found a cute idea for the door leading to my garage on Pinterest and thought it would be a quick easy project.
How hard could it be? A simple white "welcome" on the door.


Ahhh haaaa haaa haaaa!
Quick? Easy? And me?
Ahhhh haaa haaa haaaa!
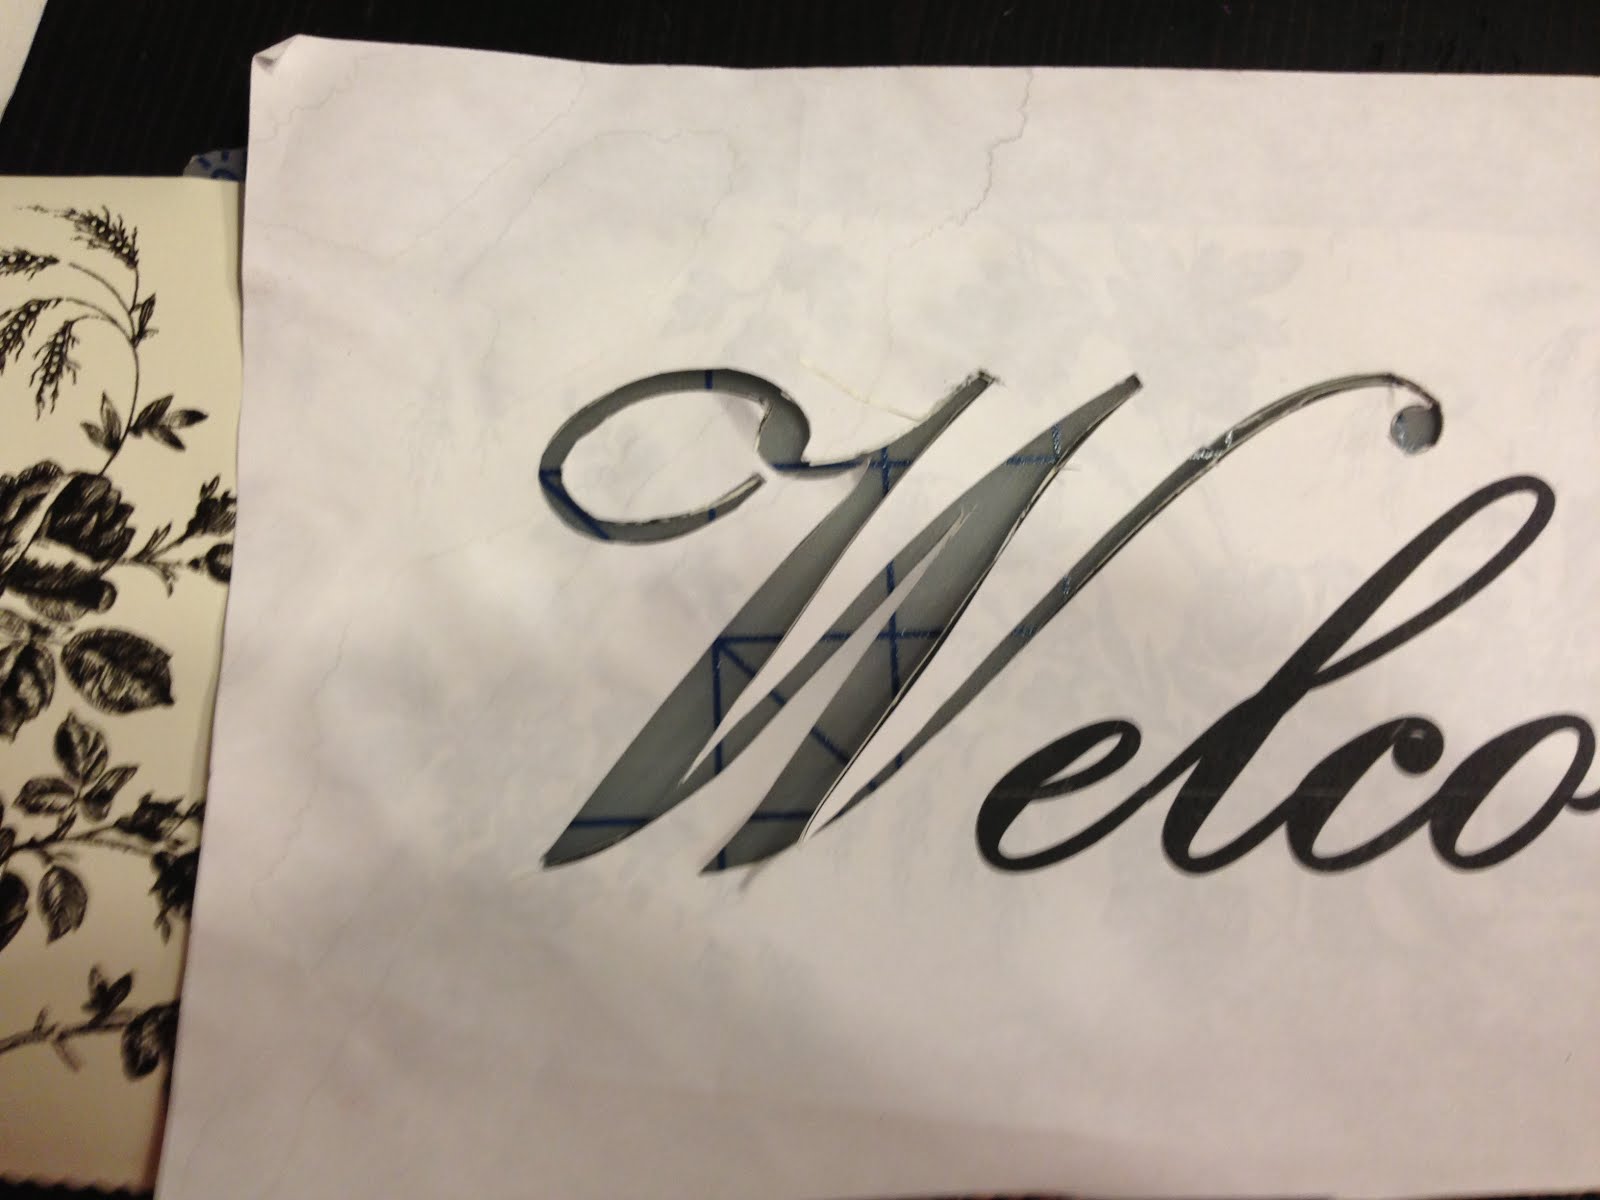
First, I picked the perfect font and font size in Word and printed a few copies. (Extra copies just in case).
I glued my printout to contact paper and cut out a stencil using an X-acto knife. The only contact paper I had on hand was a black and white floral design that I got at the Dollar Tree. Contact paper is not cheap at big box stores, so a buck for a whole roll and it's kinda cute? Can't beat it!
Once I got the stencil cut out, I was super excited. Cutting it out wasn't that bad. It was a bit time consuming, but not bad.
It was below freezing outside on the night I decided to do this project. This little tidbit is key to the story....
I opened the door all the way to the inside of the house. I didn't mind if I was "heating the outside" as my mother would say. Next I carefully placed my stencil on the door.
Remember when I said it was below freezing outside? Did I mention that the door felt damp...not wet, but a tiny bit damp? It was probably because it was so cold out and I didn't give the door a chance to acclimate to the heat inside. I ignored the first sign that this was going to be a project gone bad. I just wiped it off quickly and forged ahead...
Mistake number one.
Trying to convince myself that my stencil was firmly in place and that the cold damp door wouldn't make a difference, I kept going.
I put my first layer of paint on with a sponge brush. It was a light layer so, what did I do? I loaded more paint on the brush and put a really thick coat on the door.
Good idea right?
Ummm...mistake number two!
I couldn't wait. I'm not sure why I was in a hurry to get this done, but I was. Maybe it was because I was freezing with the door to the garage wide open. Maybe because I got cocky and thought this would be easy.
So this genius (picture me pointing my thumbs right at myself) had a great idea. A blow dryer! I thought if I blew dry the paint it would be done faster and I could start blogging about my next amazing accomplishment.
Ahhhh haaaa haaa haaaa!
I peeled the stencil off....
Yep, there it was, the affects of my mistakes right there looking me straight in the face. The paint bled underneath the stencil.... My inner voice said "Do you think it could be because the door was damp because it was so cold outside
AND you loaded too much paint on the brush
AND you blew it dry?? You idiot??!!"
Otherwise it looked great!
So... How was I going to rig this and fix it? For a long time my mantra was "I'll screw it up, but I'll fix it"! My girl Julie Bonnici and I came up with that motto when I altered the
same sleeve of a bridesmaid dress for her
twice. Nope, didn't alter each sleeve once, I cut the same sleeve twice. But I fixed it! Over the years, this has really held true for me. I seem to always screw it up the first time, but the second time is a charm.
So how to apply that mantra to this situation?
Nail polish remover!
I grabbed the nail polish remover and a fine tip paint brush and tried to remove the uneven bleed lines around each letter.
Yeah, that didn't work.
So now what?
Quit!
Yes, quit! That is exactly what I did. I shut the door and quit.
How could an easy project be so difficult???!!!
I sabotaged my own project!
I couldn't ignore the project though. It nagged and nagged me. I never once thought I wouldn't fix it. And I certainly did not think I couldn't fix it. But how and when? Do I wait for spring when it warms up and try again? Do I carefully take black paint and outline each letter to cover up the bleed lines? Do I repaint the door and start from scratch? What to do, what to do?
I was telling a coworker about my failed project and she said "what about a black Sharpie to outline the letters"?
Hmmm...good idea!!! Thanks Kelly!
Even though it was still really cold outside, I tried the black sharpie. A steady hand and the black Sharpie would have added dimension to the letters and it would have fixed the project gone bad.
Guess who apparently does NOT have a steady hand???!
So this is where we are at with this project.
Good looking from far, but far from good looking.
I think I'll leave this disaster until spring and then start all over again.
~Sheila
If you enjoyed this article, get email updates by entering your email address in the "follow by email box" located in the right side pane of the full websire version.
Viewing this article on a cell phone? Please go to the web version to enter your email address to follow.